Irish Soda Bread
- Rachel

- Feb 23, 2021
- 3 min read


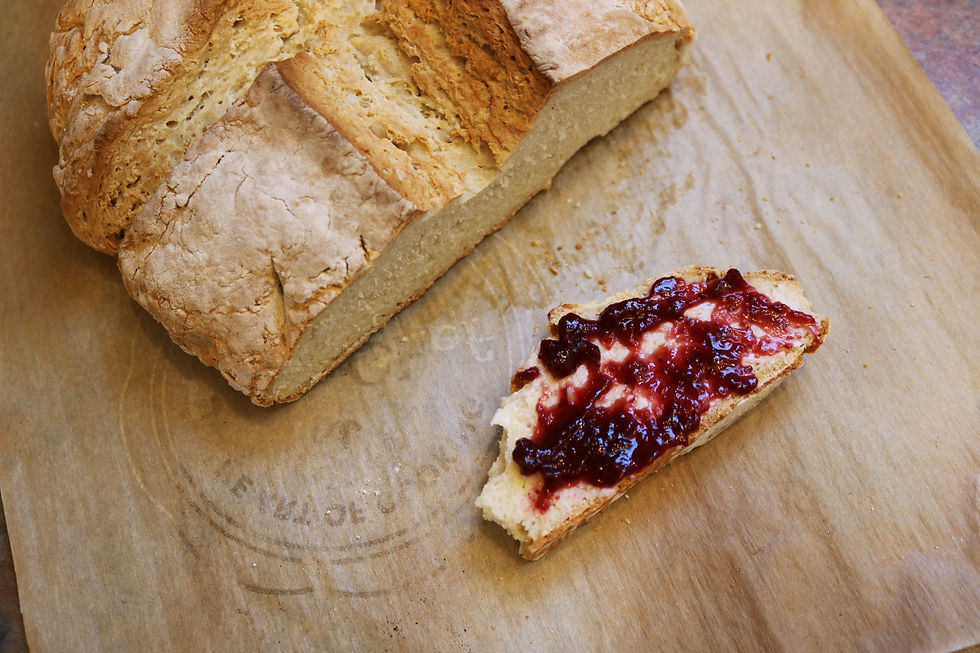
This amazing buttermilk flavored bread uses only 4 ingredients and takes about 10 minutes to prepare before baking! There's no kneading or rising time, just make the dough and bake it! I am a little bit in love with this bread because it reminds me so much of an American buttermilk biscuit but without as much work. The outside crust is golden and thick and the inside is soft but not dense or doughy. The inside is almost like a sturdy cake texture, which sounds weird but it's delightful! This bread is delicious on it's own, or when paired with butter and jam or honey :D
The original recipe, which I modified is from: https://www.youtube.com/watch?v=p450gWjSKTc&t=1s
The recipe is here, and pictures of the process are below:
Ingredients:
450 g low protein all purpose flour or cake/pastry flour (9-10% protein) (~3 2/3 cups)
1 tsp. baking soda (5 g)
1 tsp. table salt (5 g)
400 mL old fashioned buttermilk (3.25% milkfat) or skim (~1 2/3 cup or 420 g)
An Important Note: I followed a traditional Irish recipe for this, where all purpose flour is ~9-10% protein. However, Canadian all purpose flour is 12% protein. So please use a 9-10% protein flour so your bread is not too dense or chewy. I used Canadian Bread and Pastry flour for this recipe (10% protein).
Directions:
Preheat the oven to 450°F. Line a light colored baking tray with parchment paper and set aside.
Sift together the flour, baking soda, and salt in a mixing bowl. Stir with a whisk.
Make a well in the center and add most of the buttermilk.
Use your hand to stir in a circle motion, combining the wet with the dry. If after mixing there are still dry areas and loose flour, mix in the rest of the buttermilk. The dough should be slightly sticky and lumpy but not too wet.
Flour a work surface and dump the dough out. Lightly squish it together and shape into a ball (don't knead it!).
Place the prepared baking tray and squish/flatten into a 2 inch tall round disk. Then cut a 3/4 inch or 1.5 cm deep X shape from edge to edge. Then make small slits/holes in between these cuts (see pictures below). This lets the fairies out in Irish mythology :)
Bake on the middle or second to highest rack of the oven for 15 minutes at 450°F.
Reduce the oven temperature to 400°F and bake another 30 minutes, or until golden brown on the top and bottom and the bottom sounds hollow when you tap it. Note: Mine was pale on top after the full 45 minutes so I used broil for 2-3 minutes to darken the top of the bread a little.
Remove to a cooling rack and cool 1-2 hours before slicing into. Best eaten the same day it's baked because it stales quickly, but it makes excellent toast as leftovers!
Makes one loaf. Store leftovers in an airtight container up to 3 days at room temperature, or in the freezer up to 1 month.

Note the ingredients I used. I used Cake and Pastry flour (ingredients say 3 g protein in 30 g flour so that's 20% protein) and 3.25% buttermilk which is a higher milk fat % than regular buttermilk in Canada (1.5%).

Sift the flour, baking soda, and salt together.

After sifting.

Mix together and make a well in the center.

Before mixing in the buttermilk.

After mixing in the buttermilk. I ended up using all 400 mL/1 2/3 cup but you may need less.

Dump the dough out onto a floured surface.

Squish and shape into a ball.

Transfer to a baking sheet.

Then lightly flatten it into a disk shape.

Side view.

Score as shown (the small slits let the fairies out :) and immediately put in the oven to bake!

After baking! Then transfer to a wire rack to cool.

Side view!

Once cooled slice into it and enjoy!

It's great with butter, jam, and honey! Or just on it's own if you love the taste of buttermilk like me :D


Comments